
Play Nintendo 64 Games on Your PC Using Project64
By Steven McLintock onI think most gamers would say they have a favorite “all time” video game console. Maybe you don’t have one, or maybe you’ve got a few, but for me it has to be the Nintendo 64.
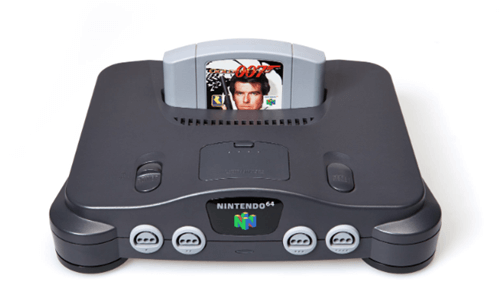
My first video game console was the Super Nintendo Entertainment System (SNES) and in the late ’90s I was desperate to get a Nintendo 64. I can remember clearly when my parents brought me to the local video game store and told me to choose a game to play on my new N64 that I was going to receive as a birthday present. I’d usually have to wait until my birthday before I could open any of my presents, but when we got home they let me play on it for a few hours and that only added to the excitement.
For the next few years I was a passionate gamer, spending most of my spare time playing either my brother or my friends in the multiplayer modes of GoldenEye or Mario Kart 64, as well as playing one of the many adventure games such as Super Mario 64, Banjo-Kazooie or the memorable Legend of Zelda: Ocarina of Time.
At the beginning of the COVID-19 pandemic I made the decision to get a Nintendo Switch (before they were in high demand) and this made me realize… I wish I could still play all of those classic N64 games!
Regrettably, I sold my original console years ago on eBay, probably to buy a new game console at the time. Regardless, I could now buy a used Nintendo 64 to play on the TV, but I didn’t like the idea of spending money on a video game console that was built over two decades ago. Besides, tracking down all of those classic video games would take a while.
Nowadays, there are a couple of alternatives we can consider. We can either buy a Raspberry Pi and install RetroPie on it to play on the TV, but buying a Raspberry Pi kit is out of my budget at the moment (it’s definitely on my wish list!). Instead, I can simply purchase a USB controller and download Project 64 for Windows to play on the PC. This will be ideal and cost considerably less than the Raspberry Pi.
Project 64
Project 64 is a Nintendo 64 emulator that you can download for free and install on your PC. It let’s you play ROMs (a computer file containing a video game) and you can either use your keyboard to play or configure a USB controller.
ROMs are computer files of your favorite video games and Project 64 will load the games on your PC. ROMs for the Nintendo 64 have the “.n64” file extension, just like how a PDF document has the file extension “.pdf”. There are plenty of resources on the internet to download ROMs and it shouldn’t take you long to find a good resource with a large selection of Nintendo 64 games.
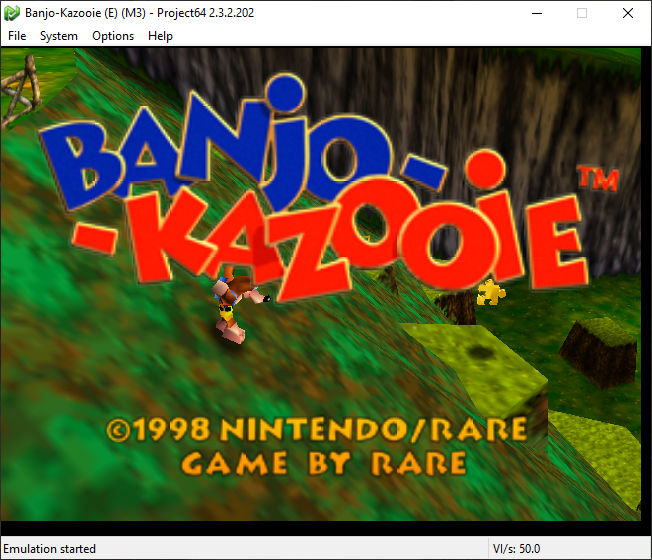
Once you’ve downloaded Project 64 and installed it on your PC, you’ll be able to go to “File -> Choose ROM Directory…” and select the folder where you store all of your ROMs. This will enable Project 64 to list all of your ROMs when you open the application so you can easily click on a game to play it.
USB Controller
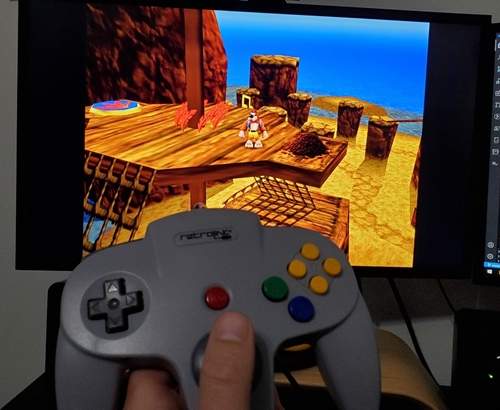
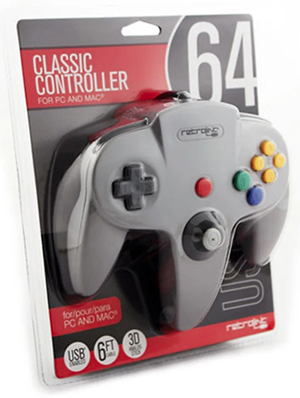
I didn’t want to play using my keyboard so instead I purchased the RetroLink N64 Style USB Controller. It’s not as robust as the original Nintendo 64 controller, but for casual gaming and for the price I would definitely recommend it.
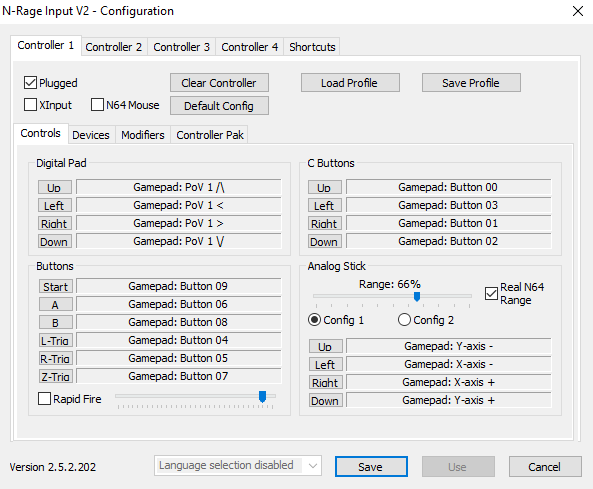
You’ll need to configure the USB controller in Project 64 to map the physical buttons and joystick to the software. This isn’t as difficult as it seems as all you need to do is click a button in the software and click the corresponding button on the USB controller.
Once you have the USB controller ready to use in Project 64 you’re all set! Project 64 will also support multiple USB controllers to play against your friends, so you can still win (or loose) at GoldenEye. I’m definitely going to be buying a Raspberry Pi one day to use RetroPie on my TV, but for now Project 64 and the USB controller is all I need to play those classic games.