How to use Azure Batch Job Schedule
By Steven McLintock onThis is a follow-up to the article ‘Using Azure Batch to Orchestrate and Execute Code at Large-Scale’. If you are unfamiliar with Azure Batch, you may find it useful to read this first.
Once you have written C# (or python) code to execute code at large-scale, it will be necessary to setup an Azure Batch job schedule if you intend to run your code on a recurring schedule.
Using the Azure Batch code sample in ‘Using Azure Batch to Orchestrate and Execute Code at Large-Scale’, and assuming you already have an initial application package setup in the Azure Portal, we will create a recurring daily job schedule to execute this application package.
Create a Pool in Azure
One of the benefits of Azure Batch is it’s ability to create a pool programmatically using code to execute code at large-scale and delete the pool when it is no longer required. Unfortunately, this does not appear to be the case for Azure Batch job schedule (please reach out if you know otherwise!).
As far as I can tell, Azure Batch requires you to execute a job schedule on a preexisting pool. The job schedule will execute code to create a larger pool programmatically and run a series of jobs and tasks. The code will delete the larger pool once the jobs are complete, leaving the preexisting pool idle until it is required for the next job schedule to run.
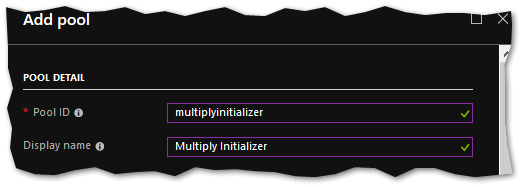
Fortunately, we only require a small pool of cost-efficient VM’s to execute our job schedule. Navigate to ‘Pools’ within your batch account in the Azure Portal and create a new pool. You will need to provide a ‘Pool ID’ and a display name:
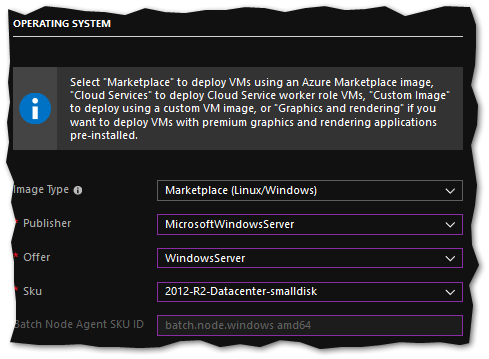
For this job schedule example, we will use a Windows server image to execute the Azure Batch code:
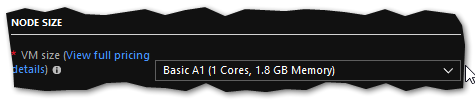
According to Microsoft’s documentation, at least one node is reserved for the job manager to manage the distribution of the jobs and tasks. Because of this, ensure your node pool contains at least 2 nodes. If your job schedule isn’t too intensive, you may want to select a basic, cost-efficient VM size (Basic A1).
Create an application package
Essentially, our job schedule will execute a ‘parent’ application package to trigger ‘children’ application packages to run at large-scale. Using the Azure Batch code sample in ‘Using Azure Batch to Orchestrate and Execute Code at Large-Scale’, zip the EXE (more on this in the introductory article), navigate to ‘Applications’ within your batch account and upload the application package:
Associate application package with pool
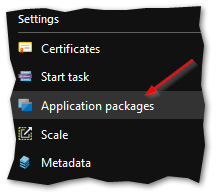
Because we created the pool using the Azure portal (instead of programmatically), don’t forget to associate the new application package to the pool. The purpose of this is when the pool is initialized, the application package(s) are deployed onto all nodes in the pool.
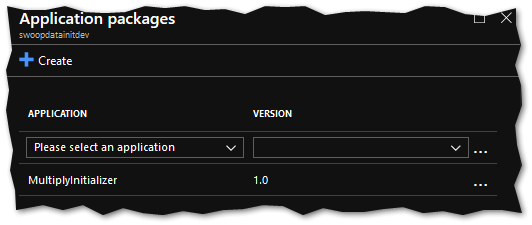
Navigate to ‘Pools’ > ‘Application packages’ within your batch account and select any application package that will be executed on the pool.
Create the recurring job schedule
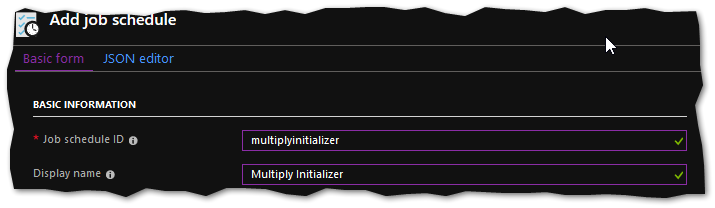
We are now ready to create the job schedule! Navigate to ‘Job schedules’ within your batch account and create a new job schedule. You will need to provide a ‘Job schedule ID’ and display name:
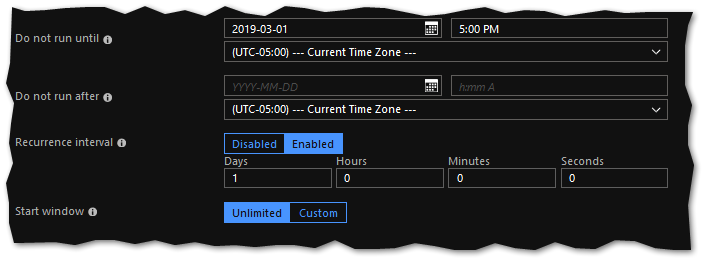
Configure the schedule:
Type the ‘Pool ID’ you created earlier and click to configure the ‘Job configuration task’:
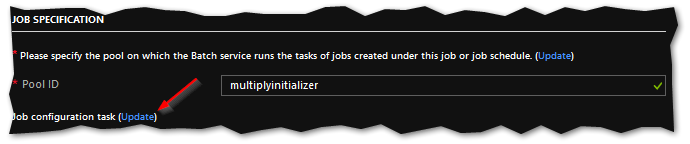
In the ‘Job configuration task’, we write the command line that will execute the application package we uploaded earlier. This is a combination of the ‘Application ID’, ‘Version’ and the EXE of the ZIP you uploaded.

Before you save the job schedule, you may want to configure what happens once all jobs and tasks are complete. The setting ‘TerminateJob’ will mark the job as complete in the job schedule history.

Save the job schedule and wait for it to execute. You will be able to verify the results by navigating to ‘Jobs’ within your batch account and browse the history logs to ensure it was successful.
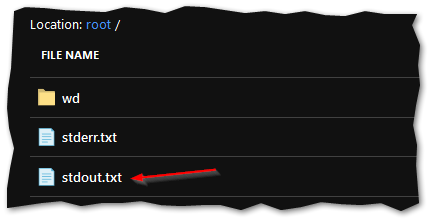
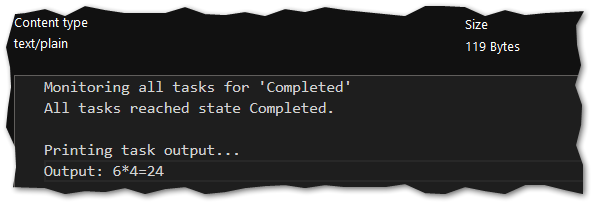
If you click into the job and task(s) you executed, you will be able to view the ‘stderr.txt’ for any exceptions that occurred, or ‘stdout.txt’ to view the output: